 Legacy Sales Complete Elite
Epson Intelligent receipt printers are designed to be used with browser based cloud platforms - removing the need to have specific client side configuration or special settings for end-users web browsers.
There are 2 parts to the configuration:
- Printer Configuration
- SimplySwim Configuration
Printer Configuration
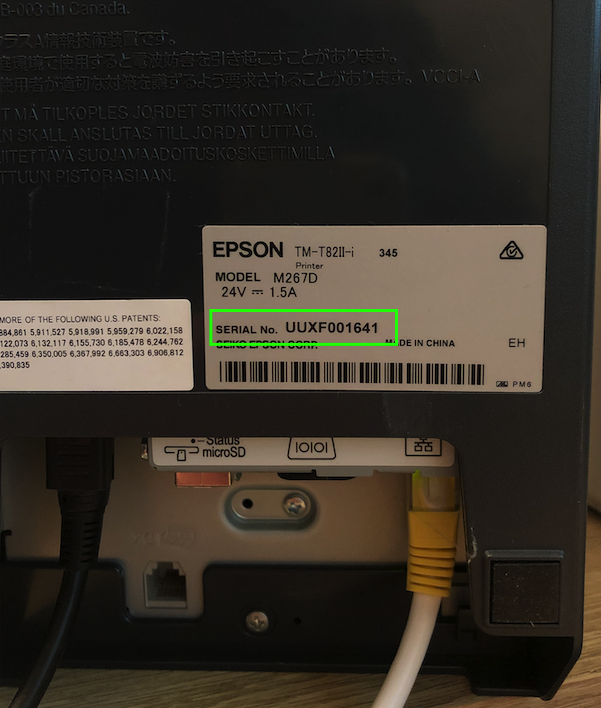
- Find the Serial Number of the printer. This is usually found on the sticker underneath the printer.
- Find the IP Address of the printer. By default, this is printed each time the printer is switched on

- Open a web browser and connect to the printer configuration page using the IP Address from above:
http://x.x.x.x/webconfig/ - If prompted, enter epson as the username & password combination
- In the menu on the left-hand side, navigate to Configuration > Web Service Settings > Server Access > Direct Print

- Enable Server Direct print
- Enter the Serial Number of the Receipt Printer into the ID field
- Enter the following URL into the Server 1 URL field:
http://api.simplyswim.net.au/api/receipts/getreceipts/
- Update the Server 1 Interval(s) value to 3

- Click Apply
Configuration in SimplySwim
- Configuration → System Setup → Point of Sale
- Enable Epson Intelligent Printing - On
- Use SSL for Epson Intelligent Printing - On
- Enable Epson Intelligent Printing - On
- Update Workstation settings, removing the IP Address, replacing it with the Serial Number of the printer (same as the value in ID).
Was this article helpful?
That’s Great!
Thank you for your feedback
Sorry! We couldn't be helpful
Thank you for your feedback
Feedback sent
We appreciate your effort and will try to fix the article