Overview
User Permission Groups can be created to grant different levels of User access. For example higher level staff may be allowed Full Access whereas Customer Service or Reception staff may be limited (e.g. allow some functions on the Administration Screen but remove access to Configuration or reporting).
This article explains how to create, edit or assign User Permission Groups to tailor site access for each User.
Setup Guide
TABLE OF CONTENTS
Before You Start
We recommend a minimum of three levels of access, for example:
- Full Access
- Customer Service
- Teacher / Instructor.
These generally cover the staff groupings needed but can be edited or added to as needed.
Check over any existing groups at Configuration → User Permission Groups and adjust the permissions if needed.
How to Create a User Permission Group
1. Go to Configuration → User Permission Groups → Add User Permission Group.
2. Name the User Group and click "Add New User Group".
NOTE: The name of the group cannot be edited once created.
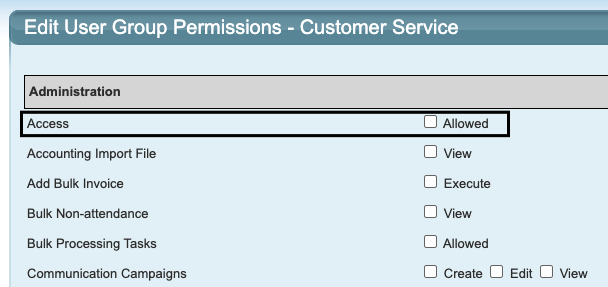
3. Click on "Edit Permissions" and tick the boxes for all permissions allowed for that user group.
The permissions are generally separated by module / screen. Where there is an overarching Access permission for the module (e.g. Administration), this must be ticked to allow access to all other permissions in that module / screen.
How to Edit a User Permission Group
To add or remove permissions within a group:
1. Go to Configuration → User Permission Groups → Edit Permissions.
2. Adjust the permissions and save changes.
This will automatically update permissions for any User already assigned to that permission group.
How to Assign a User Permission Group
Permission groups can be assigned when creating a User. The below explains how to change the assigned permission group on an existing User.
1. Go to Configuration → User Setup.
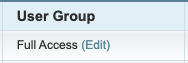
The User Group column displays the assigned user group. The default is always "Full Access" if no selection is made when the User is created.
2. Click "Edit" next to the user group, select the permission level from the dropdown menu and click "Update".
Tips on User Permission Groups
Only one User Permission Group can be assigned per User. We recommend assigning different levels of access for different levels of staff.
Do not change the main User from Full Access.Have the User login and check the access is correct. Adjust further if needed.Article links
To create a User, refer to: How To: Create a New User
Last updated 27 May 2026
Was this article helpful?
That’s Great!
Thank you for your feedback
Sorry! We couldn't be helpful
Thank you for your feedback
Feedback sent
We appreciate your effort and will try to fix the article